

Frontend integration
DioscHub ships its chat as a single web component, <diosc-chat>. You load it onto a page, place it
where you want, and control it from your app with one global function: diosc(). The widget code is
served from your DioscHub instance at runtime. You embed a small loader, not the whole bundle.
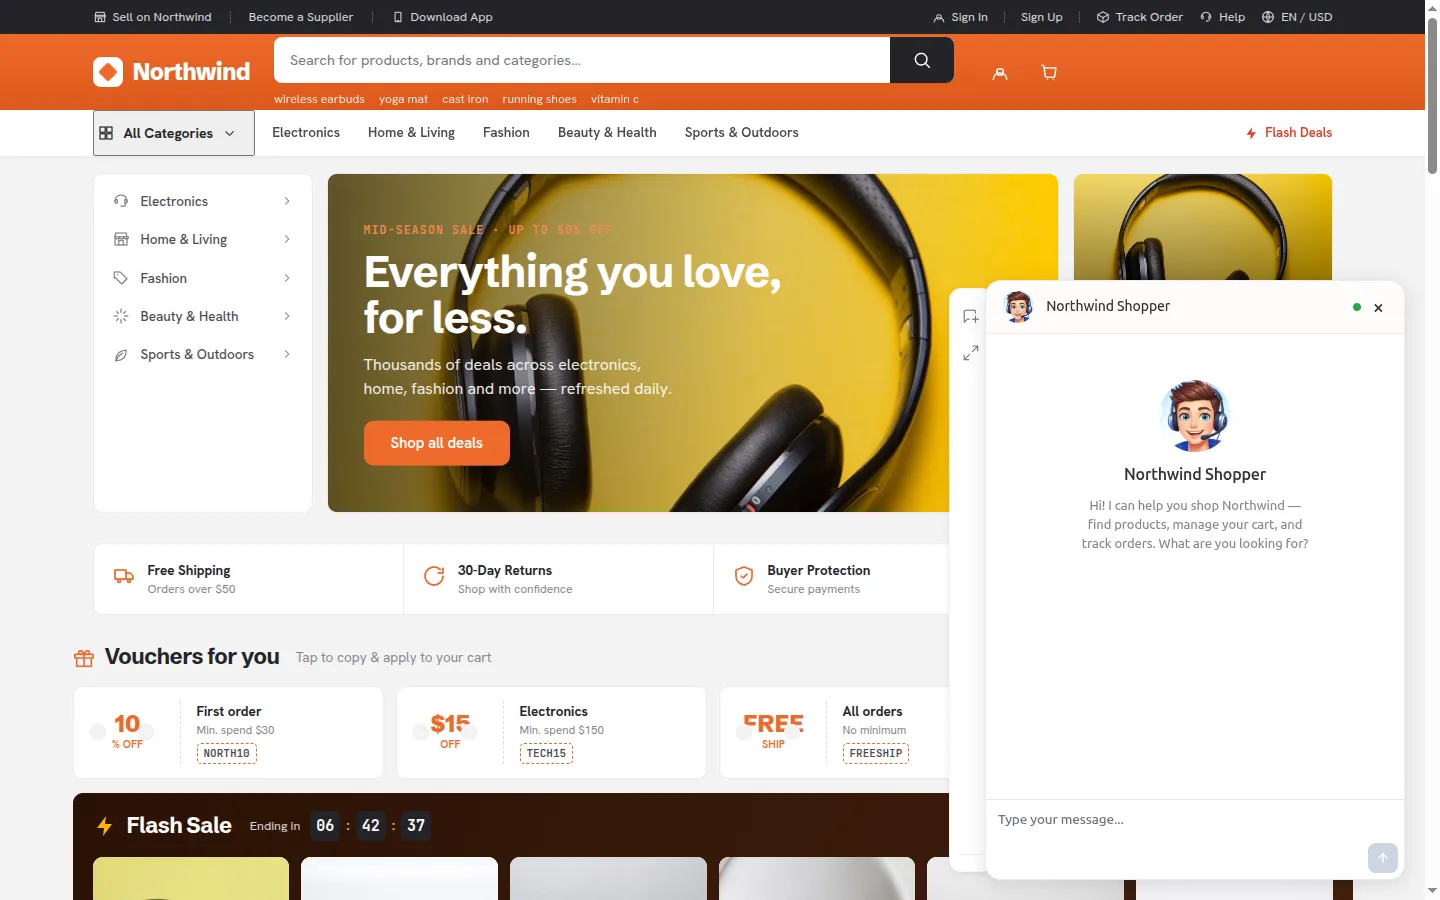
The <diosc-chat> widget embedded on a host page. It renders as a floating launcher that opens into this panel; you place and control it from your own app.
Load the widget
Section titled “Load the widget”Pick the path that matches how your frontend is built.
Paste the loader script. It mounts <diosc-chat> for you and resolves everything else from your embed
key server-side. You don’t pass an assistant ID or a backend URL.
<script src="https://your-hub.example.com/api/embed/YOUR_EMBED_KEY/loader.js"></script>That’s the whole integration for a static page.
Install the loader package. It’s a tiny dependency with no runtime libraries of its own:
npm install @dioschub/clientLoad the widget once, then render <diosc-chat> wherever you want it in your layout:
import { loadDiosc } from '@dioschub/client';
const { diosc, ready } = loadDiosc({  backendUrl: 'https://your-hub.example.com',  apiKey: 'YOUR_EMBED_KEY',});
await ready; // resolves once the widget code has loaded<diosc-chat></diosc-chat>loadDiosc returns the typed diosc() function and a ready promise. Call loadDiosc once for the
lifetime of the page; calling it again is a no-op.
Drive the widget
Section titled “Drive the widget”Once loaded, diosc() is how your app talks to the widget. You pass a command name and its arguments.
diosc('open'); // expand the widgetdiosc('close'); // collapse it to the launcherdiosc('toggle'); // flip between the twoTo react to what happens inside the widget, subscribe to its events:
diosc('on', 'session:upgraded', (session) => { // the anonymous visitor just signed in, so refresh your UI});diosc('onAny', handler) receives every event if you’d rather route them yourself. The full event
catalogue lives in the Web component API reference.
Session history
Section titled “Session history”The widget has a built-in history UI — past conversations, rename, pin, and new-chat — gated by the
sessionHistory and multipleSessions Role features (see Assistants &
Roles). When those features are granted the visitor’s role, the history
panel appears with no work on your part.
If you want to drive sessions from your own UI instead, diosc() exposes the same operations:
startNewSession, loadSession(id), renameSession(id, name), pinSession(id, isPinned),
fetchSessionList / fetchSessionListViaREST (returns the list via the session:list event), and
searchSessions({ query }) / clearSessionSearch. Every command and its arguments are in the client
command API reference.
Auth never goes through the widget
Section titled “Auth never goes through the widget”The widget carries no credentials. It never asks the user to authenticate, and you never pass a token
to diosc(). Instead, your backend hands DioscHub a scoped session for the already-signed-in
user, and DioscHub forwards that opaquely to your MCP servers. It’s never placed in the model’s
context. That binding is host-side and is covered in Identity & auth.
Customize it further
Section titled “Customize it further”The defaults work out of the box. When you’re ready to tailor the experience, each of these is a self-contained how-to:
Next: expose one of your own endpoints to the assistant in MCP server development.