General & Authentication
The General and Authentication tabs contain the core assistant configuration and integration settings.
General Tab
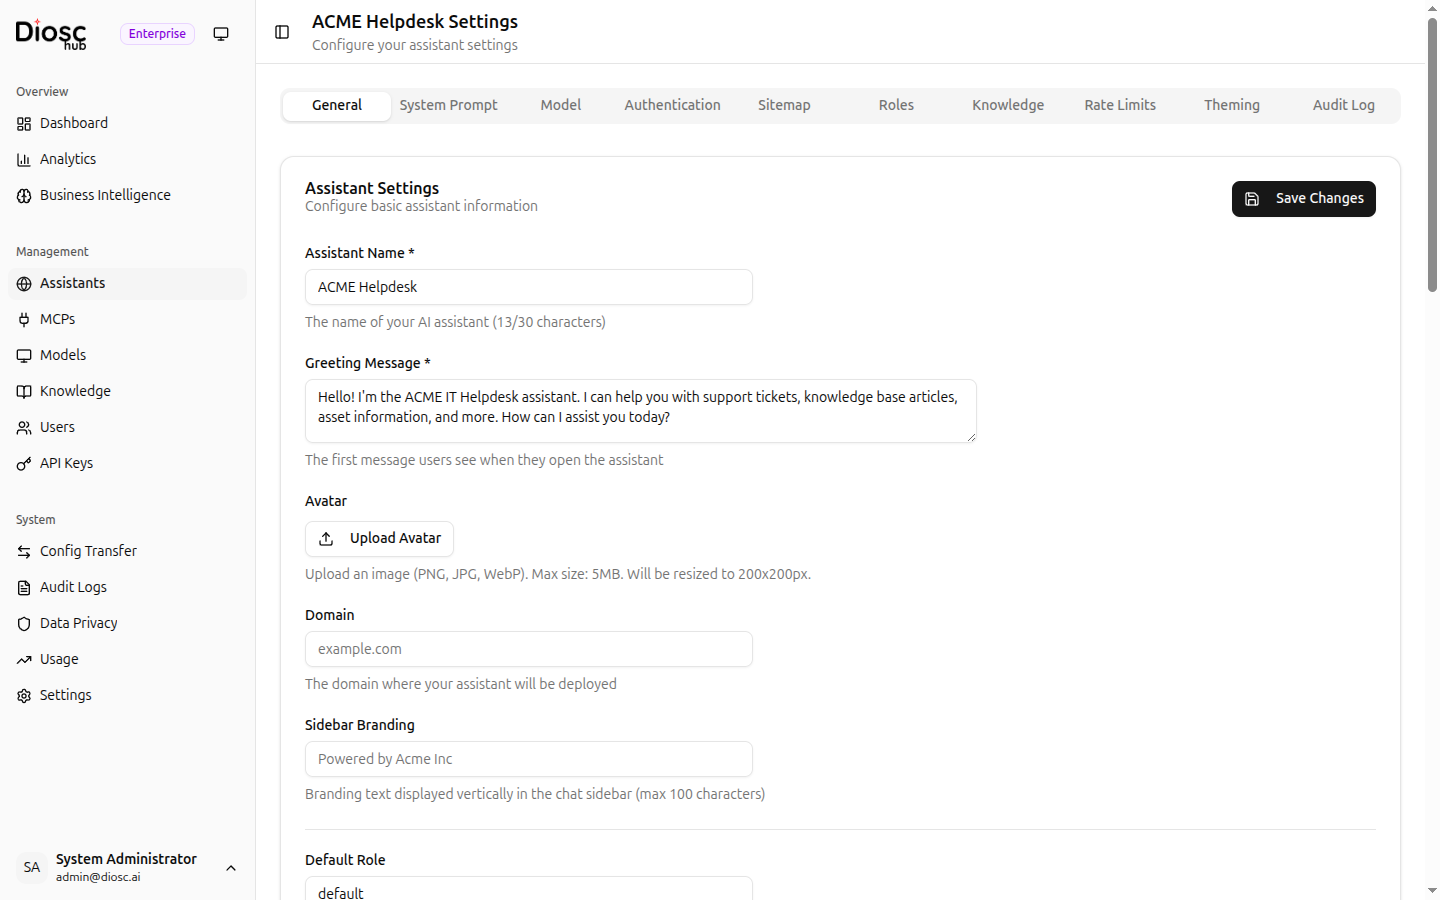
Basic Settings
| Field | Description |
|---|---|
| Assistant Name * | Display name shown on the chat widget (max 30 characters) |
| Greeting Message * | Welcome message shown to users when they open the assistant |
| Avatar | Upload a custom avatar image (PNG, JPG, WebP, max 5 MB, resized to 200x200px) |
| Domain | The domain where the assistant will be deployed |
| Sidebar Branding | Custom branding text displayed vertically in the chat sidebar (max 100 characters) |
User Resolution
| Field | Description |
|---|---|
| Default Role | Fallback role used when user resolution fails or returns no matching role |
| User Resolver Webhook URL | Webhook endpoint for identifying users from your authentication system |
| User Resolver Timeout (ms) | Maximum wait time for the webhook response (1000--30000 ms) |
See User Resolution for implementation details.
API Key
The General tab also provides an API key for this assistant:
- Generate or regenerate the API key
- Copy the key to clipboard
- Use this key when embedding the assistant in your application
Integration Guide
A read-only section showing how to embed the assistant:
- Add the script tag to your HTML
- Add the web component
- Optional configuration parameters
Authentication Tab
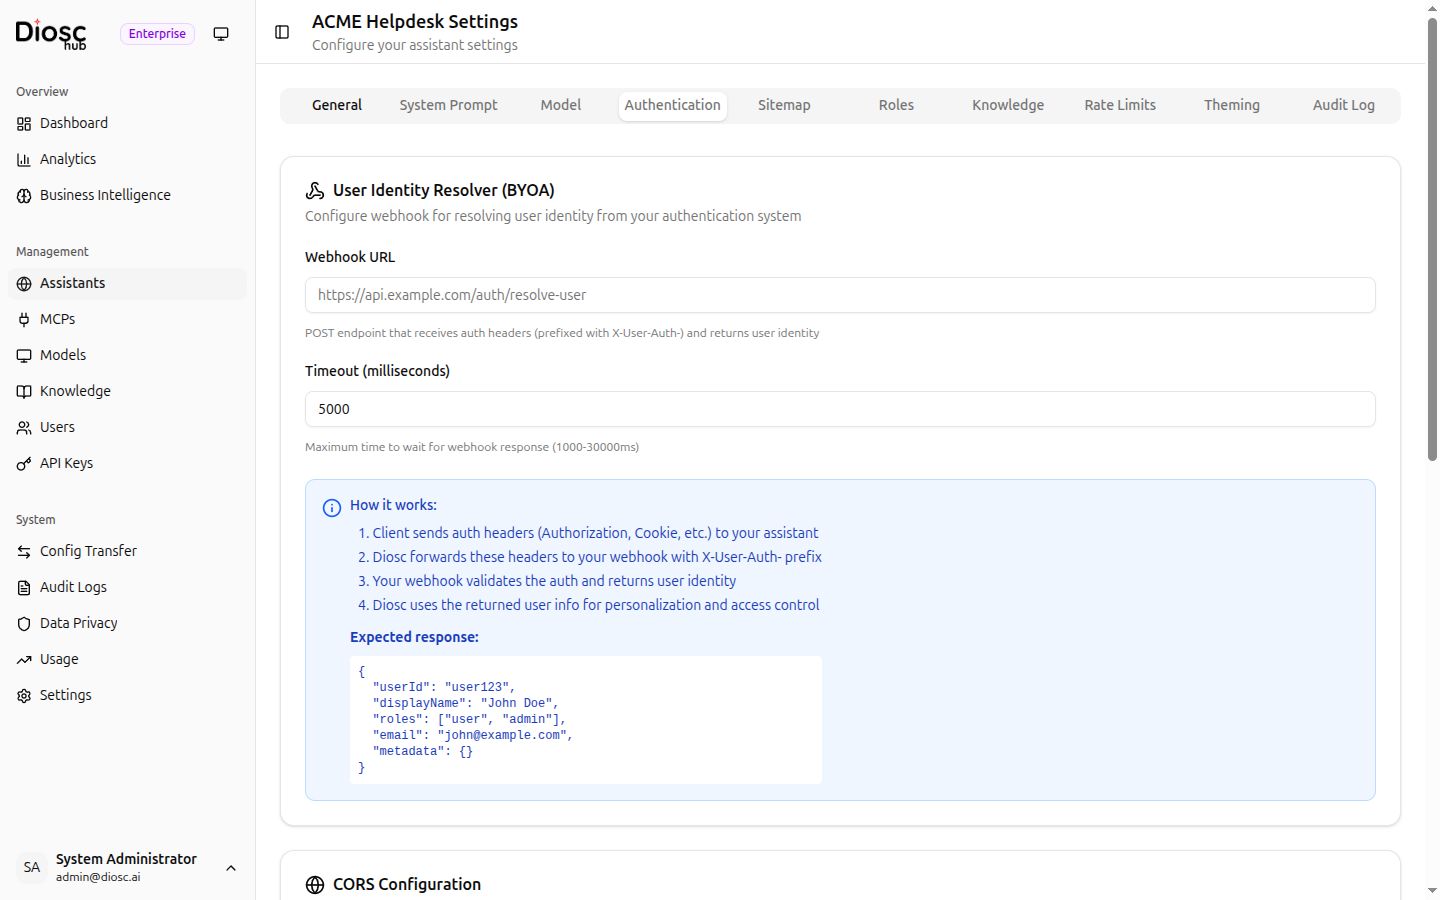
User Identity Resolver (BYOA)
Configure the webhook that resolves user identity from your authentication system.
| Setting | Description |
|---|---|
| Webhook URL | POST endpoint that receives auth headers (prefixed with X-User-Auth-) and returns user identity |
| Timeout (milliseconds) | Maximum wait time for the webhook response (1000--30000 ms) |
How it works
The Authentication tab includes an explanation of the BYOA (Bring Your Own Auth) flow:
- Client sends auth headers (Authorization, Cookie, etc.) to your assistant
- Diosc forwards these headers to your webhook with the
X-User-Auth-prefix - Your webhook validates the auth and returns user identity
- Diosc uses the returned user info for personalization and access control
The expected webhook response format is shown in the tab:
{
  "userId": "user123",
  "displayName": "John Doe",
  "roles": ["user", "admin"],
  "email": "[email protected]",
  "metadata": {}
}
CORS Configuration
| Setting | Description |
|---|---|
| Allowed Origins | List of origins permitted to embed the assistant |
| Allowed Headers | Headers forwarded from the client (add common headers with one click) |
Next Steps
- System Prompt -- Define the assistant's personality
- Model Configuration -- Select and tune the AI model
- Roles -- Set up role-based behavior